


")


With the release of Android 4.4 KitKat we see that an added feature is screen recording. While we are excited about the new feature its not as easy as many users would like and most won’t even think about using it. This being said it seems the reason for screen recording is primarily for app developers to be able to record the features of their apps natively.
With the launch of the Google Nexus 5 and the Android 4.4 update hitting other Google devices as well we have been trying out all the features KitKat has to offer and one that stood out was the screen recording feature. With developers being the focus of the new feature we are sure it will be made easier in the form of apps for the average user to take advantage of.
How to use Android 4.4 Screen Recording
First thing that you must know about the feature is that you can currently only access the feature using ADB (Android Debug Bridge) meaning you must have your device connected to a computer to use it. ADB allows developers to access their device from command line through the Android SDK. If you understand this then you can get started with screen recording.
Record a video with default settings:
- Open up a command consoles and navigate to the Android SDK folder
- adb shell screenrecord /sdcard/filename.mp4
- (this records a video with default settings)
Record a video with custom settings:
- Open up a command consoles and navigate to the Android SDK folder
- adb shell screenrecord –time-limit 30 /sdcard/filename.mp4
- (this records the video for 30 seconds)
- How to stop recording if no time is set: (Ctrl+C)
Available commands for custom screen recording:
- –help – Displays a summary of usage.
- –size – records at a set display resolution. If this is not set the default is 1280×720.
- –bit-rate – sets the bit rate of the video in megabits per second. i.e. 8000000 would be 8 Mbps (default is 4Mbps)
- –time-limit
- –rotate – experimental feature that rotates the output of your video by 90 degrees.
- –verbose – when set there will be log information displayed in command line while recording. By default no information is shown during recording.
While the screen recording process is not as easy as we initially expected when the feature was first announced it is easy enough for a novice user with basic understanding of command line can accomplish. We will update this article with a video of the screen recording process shortly but until then if you have any questions about the process please feel free to ask in the comments below.

 Samsung’s argument was that the US Patent Office is questioning validity of Apple patents in this case the “pinch to zoom” feature patent number 7,844,915. If the patent is found to be null then Samsung would be able to then argue that Apple has no case for lost revenue and the current trial would no longer be valid. The actual feature that “pinch to zoom” refers to is being able to bring your fingers together or apart to zoom in or out.
 for Android Devices")
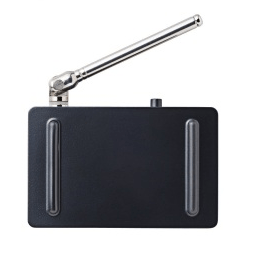 programing guide display, closed captioning, switchable sound multiplex broadcasting and even works in over 20 countries. First and foremost we have to note that this device does not currently work in the US.
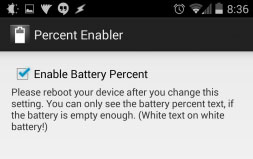

 Smarter Location settings to Save Battery
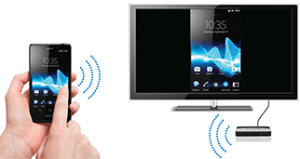 Using the device is rather easy as you connect the Push2TV unit to the TV via an HDMI cable (not included with the unit) and power it using the mini USB port of the device either to your TV or a wall adapter. The Push2TV unit supports any laptop that allows Intel’s Wireless Display (or WiDi) and Android devices with Wi-Fi Direct and Miricast. Keep in mind that most newer Android devices support this since Miricast is integrated into Android 4.2. We tested the unit with the Samsung
 The Oculus Rift will be one of the most anticipated and in our opinion popular Android accessories for gamers across the board. You no longer need a large console to get the virtual experience your looking for and the announcement yesterday will be a “game changer” in the VR world as well as mobile.
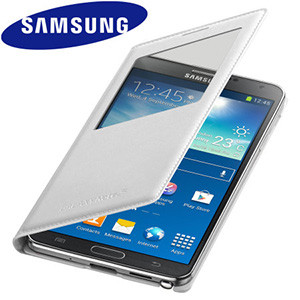 Galaxy Note 3 S-View Premium Cover Case Design
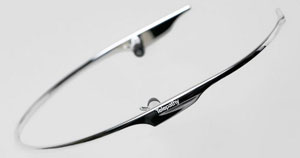 Though the name may not trip as smoothly off the tongue as the ‘Google Glass’, the design itself is certainly slick. Unveiled at South By Southwest (SXSW) as a prototype where Google Glass first made its debut, visitors flocked to try out Google’s new rival. On first look, it seems fairly insignificant with its light, wraparound frame. The device is designed to be distraction-free, stripping down the Google Glass frame down to the bare minimum, with a halo-like band worn around the head. According to Iguchi, the main problem with Google Glass is that they’re simply not cool. It’s true. Since the launch, websites have already sparked up naming and shaming people wearing their Google headsets and looking… well… ridiculous.