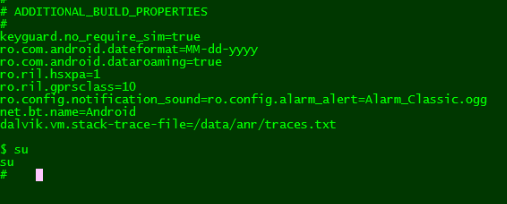
With the release of the Amazon Kindle Fire the first thing we look for is Root access and it has already been achieved. XDA member death2all110 has gained root access on the Kindle Fire using the SuperOneClick 2.2 method that is already available and used on many devices.
There are a few things that need to be done before actually one click rooting the Kindle Fire although its a pretty easy process. One thing you will need to understand is ADB and have it setup on the computer you are using to run SuperOneClick.
Instructions to Root the Kindle Fire:
- Download and install the Android SDK on your Computer
- Go to %USERPROFILE%\.android and edit the adb_usb.ini
- Add “0x1949” to the end of the adb_usb.ini file and save it
- Go to where you installed the Android SDK and open the folder “google-usb_driver”
- Edit the file android_winusb.inf adding the following to [Google.NTx86] and [Google.NTamd64]
- ;Kindle Fire
- %SingleAdbInterface% = USB_Install, USB\VID_1949&PID_0006
- %CompositeAdbInterface% = USB_Install, USB\VID_1949&PID_0006&MI_01
- save and close android_winusb.inf
- Plug your Kindle Fire into your PC via USB
- You may at this point have to open device manager and find “kindle” under other devices and choose the android_winusb.inf file as the driver.
- Turn on Installation of apps from unknown sources: tap the top bar>choose more…(+)>device
- open a command prompt and run “adb kill-server” then try adb devices
- You should see a device listed
- Download and run SuperOneClick and choose “root” (Download Link)
- Congrats your Kindle Fire is now Rooted.


